Time for another blog.
We are having the most glorious weather at the moment. Very warm sunny spring days.
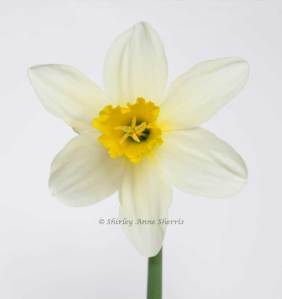
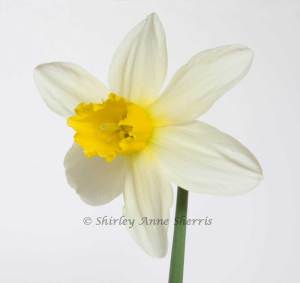
I am using all the spring growth for my 'images of the day' and could not resist the daffodils which are bursting into bloom all over the place including my garden.
I have to confess that on this occasion I had to cut and bring one of the daffodils inside to photograph. The position of it was too difficult to get a good photograph and the breeze too inconsistent to time.
I was then able to play a little with different settings on the camera and positioning the flower head as I wanted it.
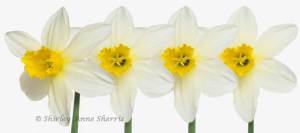
As usual I couldn't resist a play and using the images I took created this little composite.
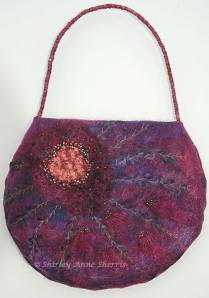
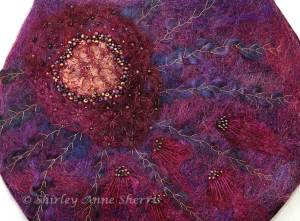
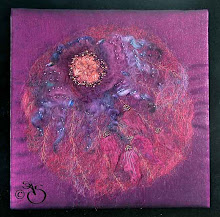
As I haven't created a lot of textile work while I have been writing my second book, I thought I would show you the piece which I use as my avatar and it appears sometimes on blogs and other textile sites I have joined.
The piece is a panel which hangs on my wall at the moment but I liked it so much that I decided to repaeat the technique and make a bag.
The background is a purple satin. I stretched it over a frame to embellish the fibres onto the surface. This helps to prevent shrinkage which usually happens when embellishing. The fibres were embellished much more for the bag than they were for the panel as the bag would be more vunerable to catching the fibres while in use. Once the background was covered with dyed fibres, I dyed and teased out some curly mohair fibres and radiated them out from a point on the top left side. These were couched in place with hand stitched herringbone stitch.
I made the patch by teasing out some more dyed fibres and placing them on a piece of card. I sprinkled some embossing powders into the centre and placed the card on top of my toaster to melt the powder. When the powder began to melt I quickly pressed a wooden stamp into the hot melted powder to create the sun impression. The whole patch was then placed onto the embellished background and couched in place with hand stitching and beading. I also added some pieces of dyed silk pods which looked like little buds. These too were embellished in place and then further embellished with beads and stitching.
I made up the bag and made a handle of wrapped threads and cords.
OK - textile part over.
Now I need to decide where I am going next. I have lots of new materials and goodies which I have bought recently to play with and I have a thick folder of sketches and ideas to work through. Hmmm - a child in a sweet shop springs to mind!
Well I am off to the workroom now so cheers everyone until the next blog. Hope to have something to share then.




2 comments:
I'm back - and I beat you for a long lapse :)
Was going to ask about the book but then it popped out at me further down, so have been across to Amazon and pre-ordered.
Cover looks magnificent. Did you choose this yourself? If so it was an excellent choice.
Roll on August.
Comments transferred from other blog:
Doreen G
I never thought of hooping the base fabric for embellishing–what a great idea.
Tracy
Those daffodils so remind me of home :) . We are going onto autumn here which is a lovely time of year after a hot summer. Thanks for sharing your bag techniques, I have some embossing powder I was given many moons ago and never used it, think I might have to have a play now :)
sharon young
Nice to see the bag up close, Shirley, and read how you did it. I’ve been wondering about embossing too but never got round to it.
Post a Comment