
The design source for the first piece was simply the waters of Venice. You see water from every aspect but the colours are determined by where in Venice you are and what is reflected in them. This piece was to represent the waters near the sea entrance to Venice which are more sea coloured.
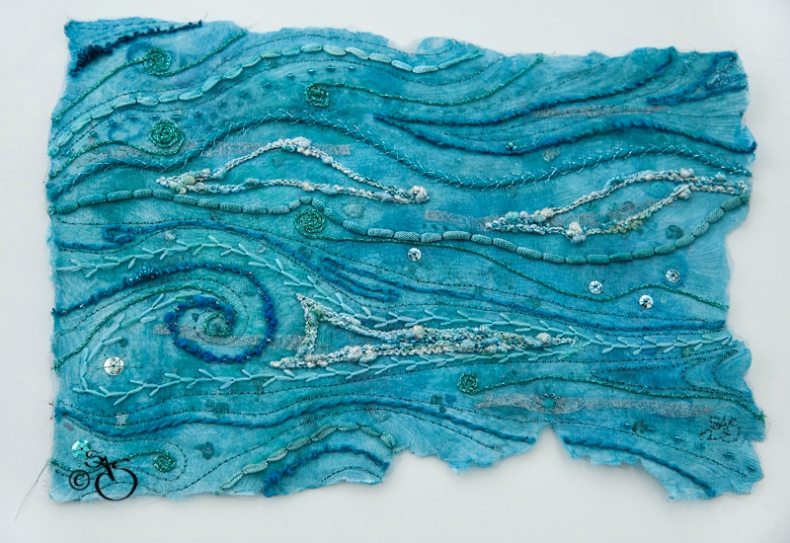
I made a second piece of this paper because I had intended the first one to be a book cover but I hadn't greased the glass surface enough and so the edges were torn away when I lifted the paper. It was perfetly OK for a panel though.
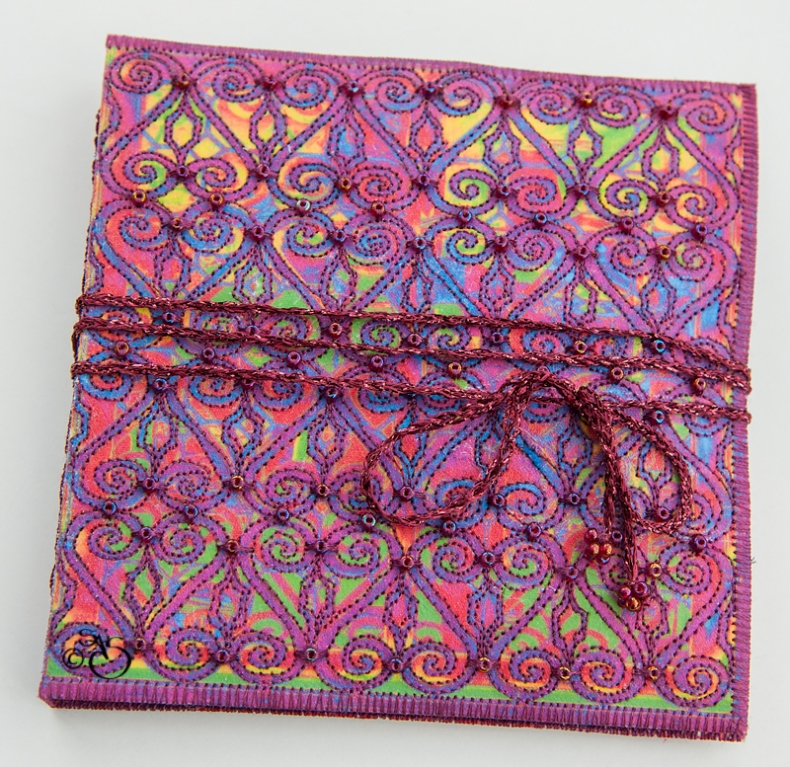
In order to make the paper robust enough for a book cover, I ironed Vilene onto the back. This time I did not overlay the surface with a sheer fabric so that the texture from the glass was more evident. Other than that, I embellished the surface the same as the panel but with more beads for added texture. I coulr washed sheets of paper and stitched them into the cover using a decorative metallic thread. The tie was some knitted ribbon which just happened to be the right colour.


Again using the hinge design, I made some bag tags. Two of them were made using painted pelmet vilene. One painted bronze and one copper.


I
liked the design so much I printed out another square of the design
onto transfer paper for black and this time it was ironed onto black
felt. Again I outlined the fret design. the panel was then used to make
the centre panel of a purse. I had some deep burgundy red cotton satin
which was a perfect match for the panel. I enlarged the design, turned
it into a black and white lined drawing to make a pattern. This was
traced onto tissue paper and I free machine quilted the body of the
purse.
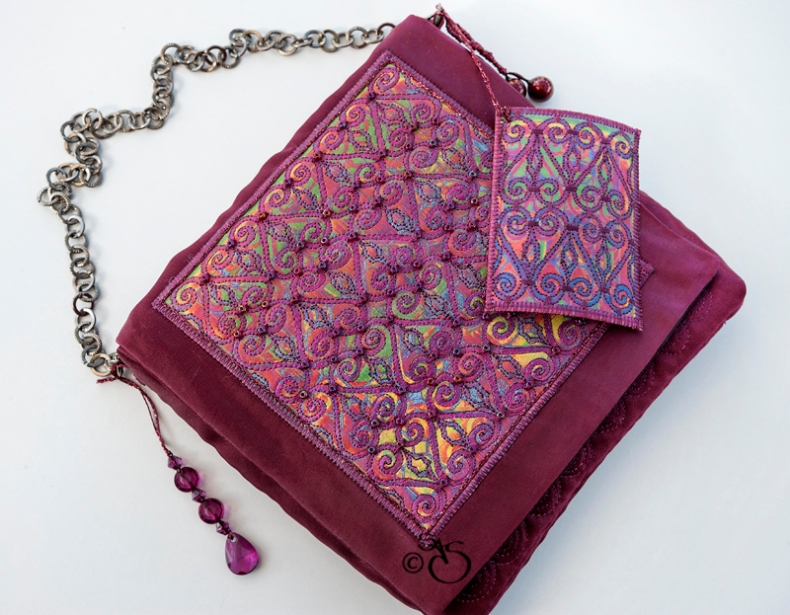

I used beads and to make bag tags and also attached the above bg tag to this purse.
Finally,
I returned to my music mask design. I printed a full A4 size mask onto
transfer paper for black and ironed this onto black polyester cotton.
This was for the centre panel on the front of a tote. I painted the
gold scrolls with gold twinkling water then free machine quilted the
mask. I used black thread and bullion knots for the music notes. Once
the centre panel was complete, I used a faux black leather fabric to
make up the tote. To make the bag tags, I printed small versions of the
masks onto acetate sheet which was backed with the leather fabric but I
had to insert a white card behind the acetate to reveal the print
better.


And that will have to do for this post. I do have four more finished pieces but I will keep them for next time.
Cheers for now.


