
Before I begin the new post I am posting the photo of the three finished mounted shadows I talked about in previous posts. I was struggling with how to present them but with the aid of Photoshop I was able to simulate a few ideas and so choose the one which suited the pieces best. I found some fabric which wasn't quite the grey I was looking for - more a taupe grey - but it worked fine. I machined the text up the side of each piece which stated what the shadows were. I made stretcher frames and stretched the appliquéd pieces over the frames. This was all that was needed and here they are:-

Now I can begin to develop a series of pieces using a photograph I took looking up through the wrought iron dome of a pergola in the arboretum at Thorpe Perrow.

I put this image into Photoshop and first of all isolated the iron work so that I could overlay it onto any background.
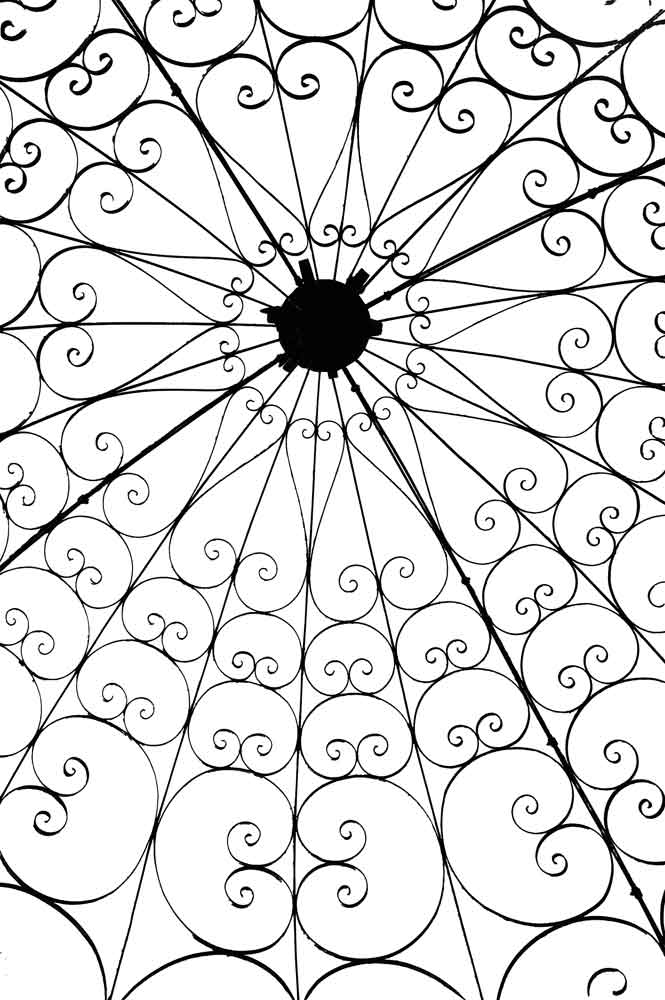
Next I played with the sliders in the colour balance and with some other special filters creating possible textile pieces. Here is one of the images I liked.
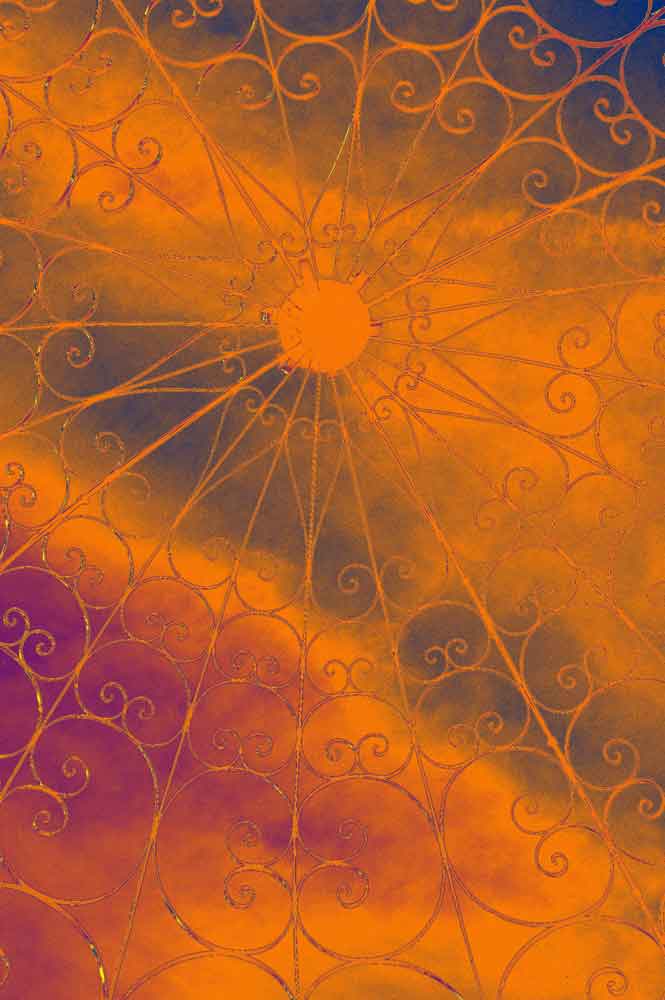
I began interpreting this one by first painting silk.

The painted silk was then laid over wadding and backed with a stabiliser. I traced the pergola dome pattern onto soluble fabric and laid it over the silk. All the layers were then pinned together ready to stitch.

Then to my favourite part - free machining. I used a variegated metallic thread to machine the design onto the silk. When the stitching was complete the soluble fabric was removed and I couched a rainbow metallic twist thread along each of the straight radial lines.

This is as far as I have reached for the moment with this one. I do have plans for the next stage which involves some printing.
I began a second pergola piece. This was another special effect which I liked.

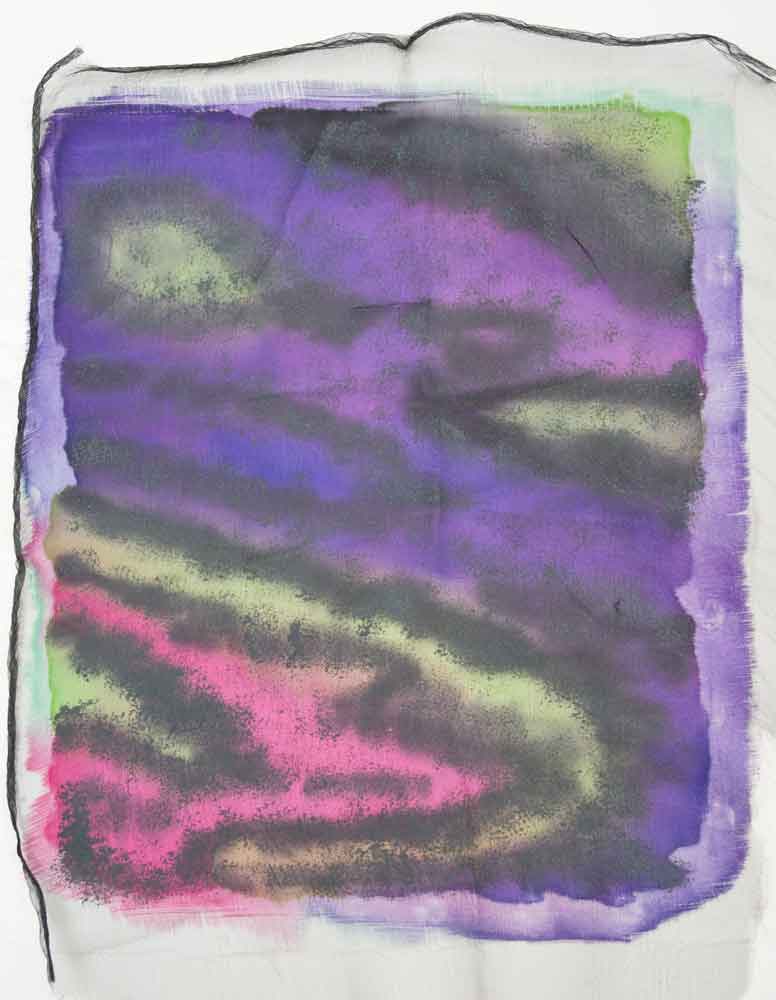
I loved the vibrant colours and saw immediately how I was going to create a piece from it. I painted a piece of white satin with silk paints then using a small sponge and black metallic acrylic paint I sponged the speckled effect over the piece.

Next I laid a piece of black nylon chiffon over the painted satin
Then I again traced the pergola design onto soluble fabric and laid this over the top. As with the former piece I laid this over wadding and a stabiliser and pinned it all together.

I found a lovely thick black metallic thread which I have had many many years and it was perfect for the job. I used a larger hole needle in the machine and machined the pergola dome pattern, stitching down the straight lines twice to make them stand out more. I removed the soluble fabric and the piece is now ready for the next stage.
I spent most of the evening processing photographs which My OH took on a late evening visit to Durham Cathedral with some of the members of his camera club. Unfortunately - yes you've guessed it - it rained and curtailed the trip. They did manage to take enough to put the better ones on the club web site.
Next week I am going to do a workshop and have a get together with fellow members of the Computer Textile Design Group. I have to decide what to take with me which I am finding very difficult. No matter what and how much I take it is almost certain I will need what I haven't taken!!!! So to bed now.
Cheers everyone


6 comments:
The completed Shadows are superb I wish I had 1/2 your skills with freehand machine embroidery,The purple pergola is very striking and beautifully done
what a cool inspiration-to-finish trip the shadow pieces have taken.
I'm curious about the scale -- may I ask what the finished size is?
In answer to My Croft - the quilted shadows themselves are 60cm tall and as you can see slightly different widths the widest being 16cm. They are framed up to 23 x 68cm each.
Comment transferred from other blog:
sharon young
Hi Shirley
Lovely finished result on the shadows piece, it’s worked really well.
I like your interpretation of the pergola too, and was interested to read that you used w/s for the metalic thread, good tip, I always struggle with breaking thread so will have to give this a go.
Lovely set of pics on the camera club web site, if anything the rain has worked in their favour, enhancing the lovely light. Your OH’s arches shot is great!
Gorgeous, love that tracery.
I should have started at the beginning of this series of blog posts *LOL*
The pergola project started off really well and finished magnificently.
I so admire the way you work through your design work. Its no wonder that you are able to achieve the effects that you do.
I really must take a leaf out of your book.
And speaking of leaves - brilliant idea with the organza, another one to make a note of for future use.
Post a Comment